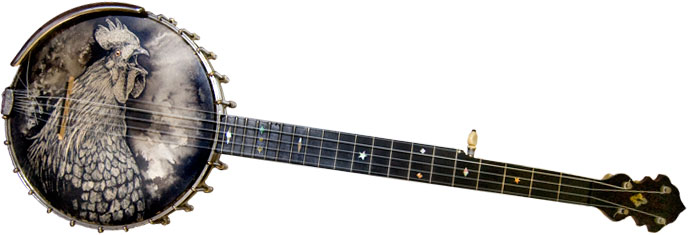
Remo coated topside: Crowing Cockerel
"A whistling woman and a crowing hen are neither fit for God nor men" - traditional
Okay, well, this is a rooster, but I couldn't resist leading with that bit of ancient wisdom.
I've had both flesh and Remo heads on my old Haynes Bay State banjo. I decided I wanted to take the vellum off and use it on another banjo, so I scrounged up the old Remo head and thought I'd decorate it before I put it back on. It's a standard Remo Diplomat coated topside white head.
Way, way too white to go on a nice old banjo. First thing I did was soak the head in coffee. Followed by tea. Neither of which worked all that great, but it was a waste of time, anyway. I hadn't intended on covering pretty much the entire head with ink, but that's what happened in the end.
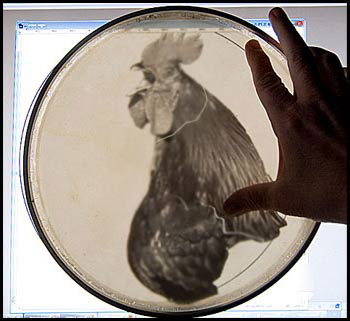
Incidentally, be careful working from photos. In fact, it's better if you don't, especially if you're a noob. Or at least leave the photo in another room while you work.
When you have a photograph right in front of you, it's really hard not to try to copy it. The result is almost never a good-looking copy of a photograph; it's usually something cramped and horrible-looking. You really want to try to reach in and pull something interesting and personal out of your imagination, which you can't do with a photo staring you in the face. 'Nuff said.
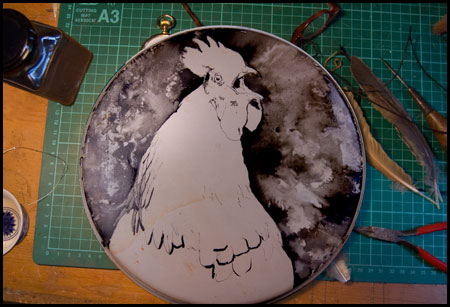
And then something kind of awesome happened
Not long after I'd inked the first lines, I got to wondering if ink on a Mylar surface would spread into a wet patch, the way ink blooms on wet drafting film or paper. So I tried it. Could've ruined the whole thing, but instead it did something pretty cool.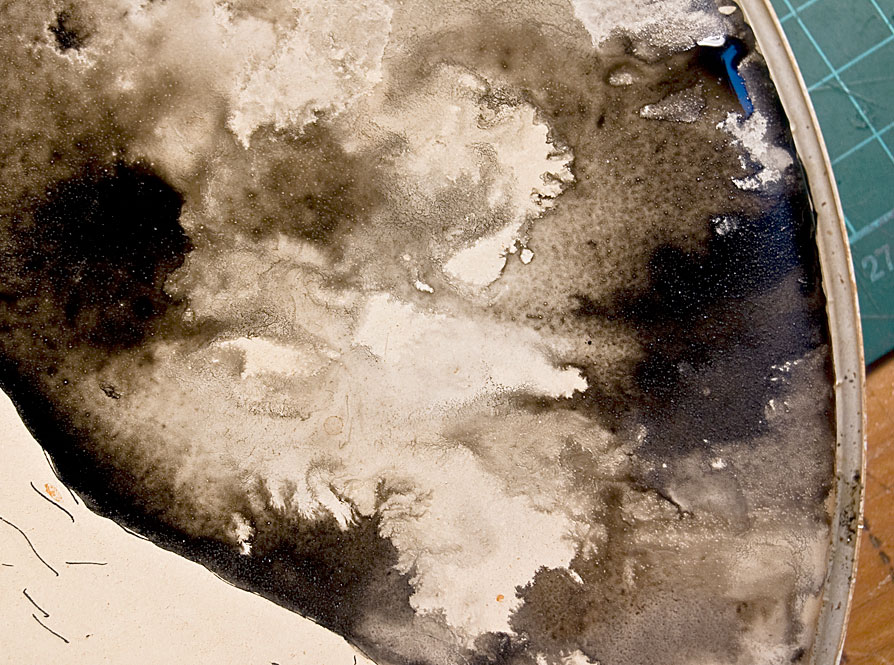
To get this effect, lightly wet the surface with clean water — a thin layer (you should be able to see the nubbly texture of the head poking through). Only wet where you want ink to go. Then load up a brush heavily with ink and lightly touch it to the surface where you want the bloom to start.
You can exert a little control over the pattern by tilting, blowing, adding water, soaking up water (dip the corner of a paper towel into the wet to draw the ink toward the napkin). But, honestly, my advice is to get it going and then walk away and let it do its thing. You're likely to muddy it up if you mess with it much. I had hoped to make the water pattern radiate outwards from his beak like a great sonic wave, but when that began to go out of control, I went for a walk and let it do what it wanted.
Despite appearances, the ink here is thin even in the blackest areas and not likely to cause problems by squelching tone, cracking or going sticky. I stepped on my intended design, though. I had in mind a dark silhouette against a light background, and ended up with something all over dark that isn't going to read from a distance.

Finishing up
I took a bit of paper towel, dipped it lightly in ink and sort of dry-buffed it around the edges to darken to outer ring to frame it a little. Then a little gold and a very little red watercolor just in the eye. When that was dry, some white highlights around the eye and beak.
Twenty four hours to dry, two or three coats of fixative and. Well. Totally not what I had in mind when I started, but I think it came out pretty well.